type
status
date
slug
summary
tags
category
icon
password
Property
Mar 4, 2024 11:59 AM
目的
学习 Gitlab 的搭建
正式开始
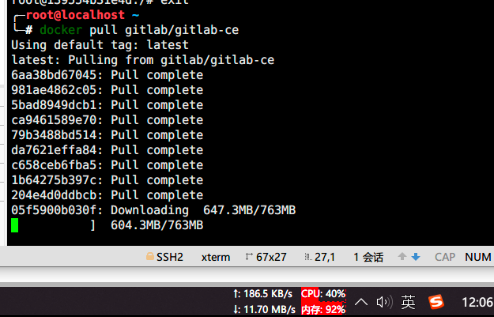
拉取 Gitlab 镜像
我这网速的确感人啊
![notion image](https://www.notion.so/image/https%3A%2F%2Fs3-us-west-2.amazonaws.com%2Fsecure.notion-static.com%2Ff45fc1c7-c9b3-466f-b8d5-2baab41c48cf%2FUntitled.png?table=block&id=ac68896b-568c-4b80-a77a-f4755b898473&t=ac68896b-568c-4b80-a77a-f4755b898473&width=494&cache=v2)
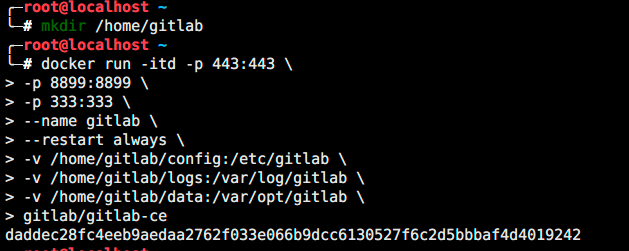
创建 Gitlab 容器
![notion image](https://www.notion.so/image/https%3A%2F%2Fs3-us-west-2.amazonaws.com%2Fsecure.notion-static.com%2F987aba03-677c-4654-815d-3498cc9cb087%2FUntitled.png?table=block&id=5f9933a5-23f1-45da-be06-dd21c85c5369&t=5f9933a5-23f1-45da-be06-dd21c85c5369&width=629&cache=v2)
关于:
- –restart: 当 Docker 重启时,容器自动启动,否则就需要使用 docker restart 启动
- gitlab 端口映射规则:最好内外端口映射一致,gitlab 会根据你的配置文件调整服务端口。如外部访问 8899,内外都配置 8899
- 一般 Gitlab 有三个端口要使用:ssh,https,主服务地址。
- ssh 默认是 22,这里我改为了 333,
然后我们在防火墙添加 333 和 8899 端口的放行,并重载防火墙
我们可以看下现在的运行状况
![notion image](https://www.notion.so/image/https%3A%2F%2Fs3-us-west-2.amazonaws.com%2Fsecure.notion-static.com%2F21d51ddb-d01e-41b1-9434-6adde90f7147%2FUntitled.png?table=block&id=096ef279-8d89-4414-a7fa-230208117acf&t=096ef279-8d89-4414-a7fa-230208117acf&width=1571&cache=v2)
修改 Gitlab 配置文件
外部路径
在文件内增加三条配置:
- external_url: 外部服务访问地址
- gitlab_rails[‘gitlab_ssh_host’]:SSH 代码拉取地址
- gitlab_rails[‘gitlab_shell_ssh_port’]:SSH 代码拉取端口
我的虚拟机是 192.168.182.3,因此我的填写如下
![notion image](https://www.notion.so/image/https%3A%2F%2Fs3-us-west-2.amazonaws.com%2Fsecure.notion-static.com%2Fbbf916f6-6953-461e-a081-a2701afc5d32%2FUntitled.png?table=block&id=6fd45afb-6a7b-4051-9206-db0e3fee83ff&t=6fd45afb-6a7b-4051-9206-db0e3fee83ff&width=803&cache=v2)
![notion image](https://www.notion.so/image/https%3A%2F%2Fs3-us-west-2.amazonaws.com%2Fsecure.notion-static.com%2Fb2d54b57-bac6-4db3-b422-615d050b9d43%2FUntitled.png?table=block&id=d85fec95-7c65-41d0-923e-36a41e516fcb&t=d85fec95-7c65-41d0-923e-36a41e516fcb&width=552&cache=v2)
修改 SSH 端口
前面设置的是 333 端口,因此要把默认的 22 端口改为 333 端口。
![notion image](https://www.notion.so/image/https%3A%2F%2Fs3-us-west-2.amazonaws.com%2Fsecure.notion-static.com%2F2714a887-2855-480c-bedf-691d08202464%2FUntitled.png?table=block&id=0dafcaee-45e5-4967-a2fd-e0f88afe07f3&t=0dafcaee-45e5-4967-a2fd-e0f88afe07f3&width=448&cache=v2)
image
![notion image](https://www.notion.so/image/https%3A%2F%2Fs3-us-west-2.amazonaws.com%2Fsecure.notion-static.com%2Fa63ed057-bd51-42ab-aa7f-039364f5e73c%2FUntitled.png?table=block&id=97470dde-8068-4a6e-acdd-e6712dcc8dc4&t=97470dde-8068-4a6e-acdd-e6712dcc8dc4&width=408&cache=v2)
image
重启 Gitlab
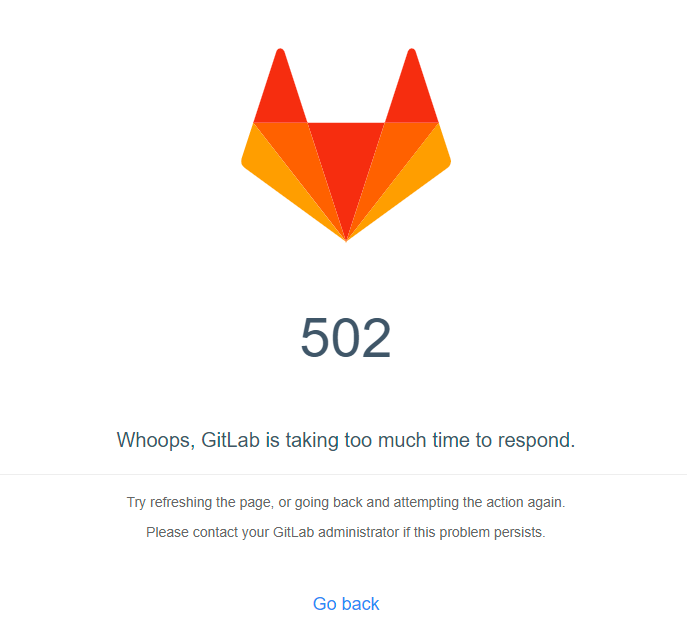
访问我们的地址端口。如果显示 502 ,则代表正在启动中。
![notion image](https://www.notion.so/image/https%3A%2F%2Fs3-us-west-2.amazonaws.com%2Fsecure.notion-static.com%2F2d899784-cb4f-438f-95d0-712a32990f62%2FUntitled.png?table=block&id=52fcc992-756f-4553-9ded-a6681a8db8c0&t=52fcc992-756f-4553-9ded-a6681a8db8c0&width=687&cache=v2)
image
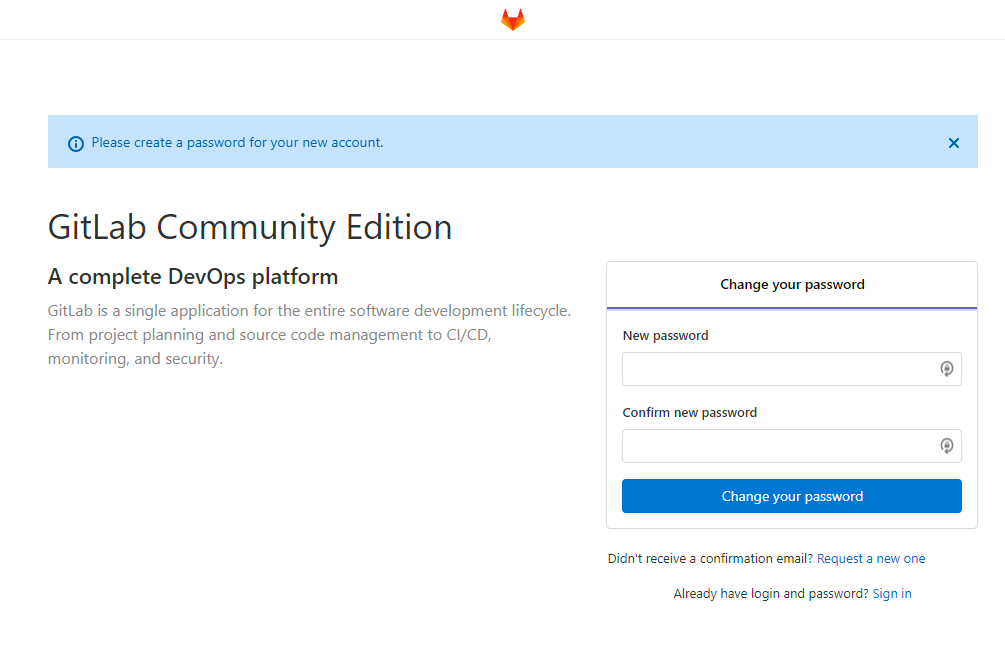
初始化完成就好了
![notion image](https://www.notion.so/image/https%3A%2F%2Fs3-us-west-2.amazonaws.com%2Fsecure.notion-static.com%2F307b641c-f120-476b-9d10-e8bd29db4932%2FUntitled.png?table=block&id=85af88c5-a29c-4d9b-bb9e-d37a5b48e960&t=85af88c5-a29c-4d9b-bb9e-d37a5b48e960&width=1005&cache=v2)
image
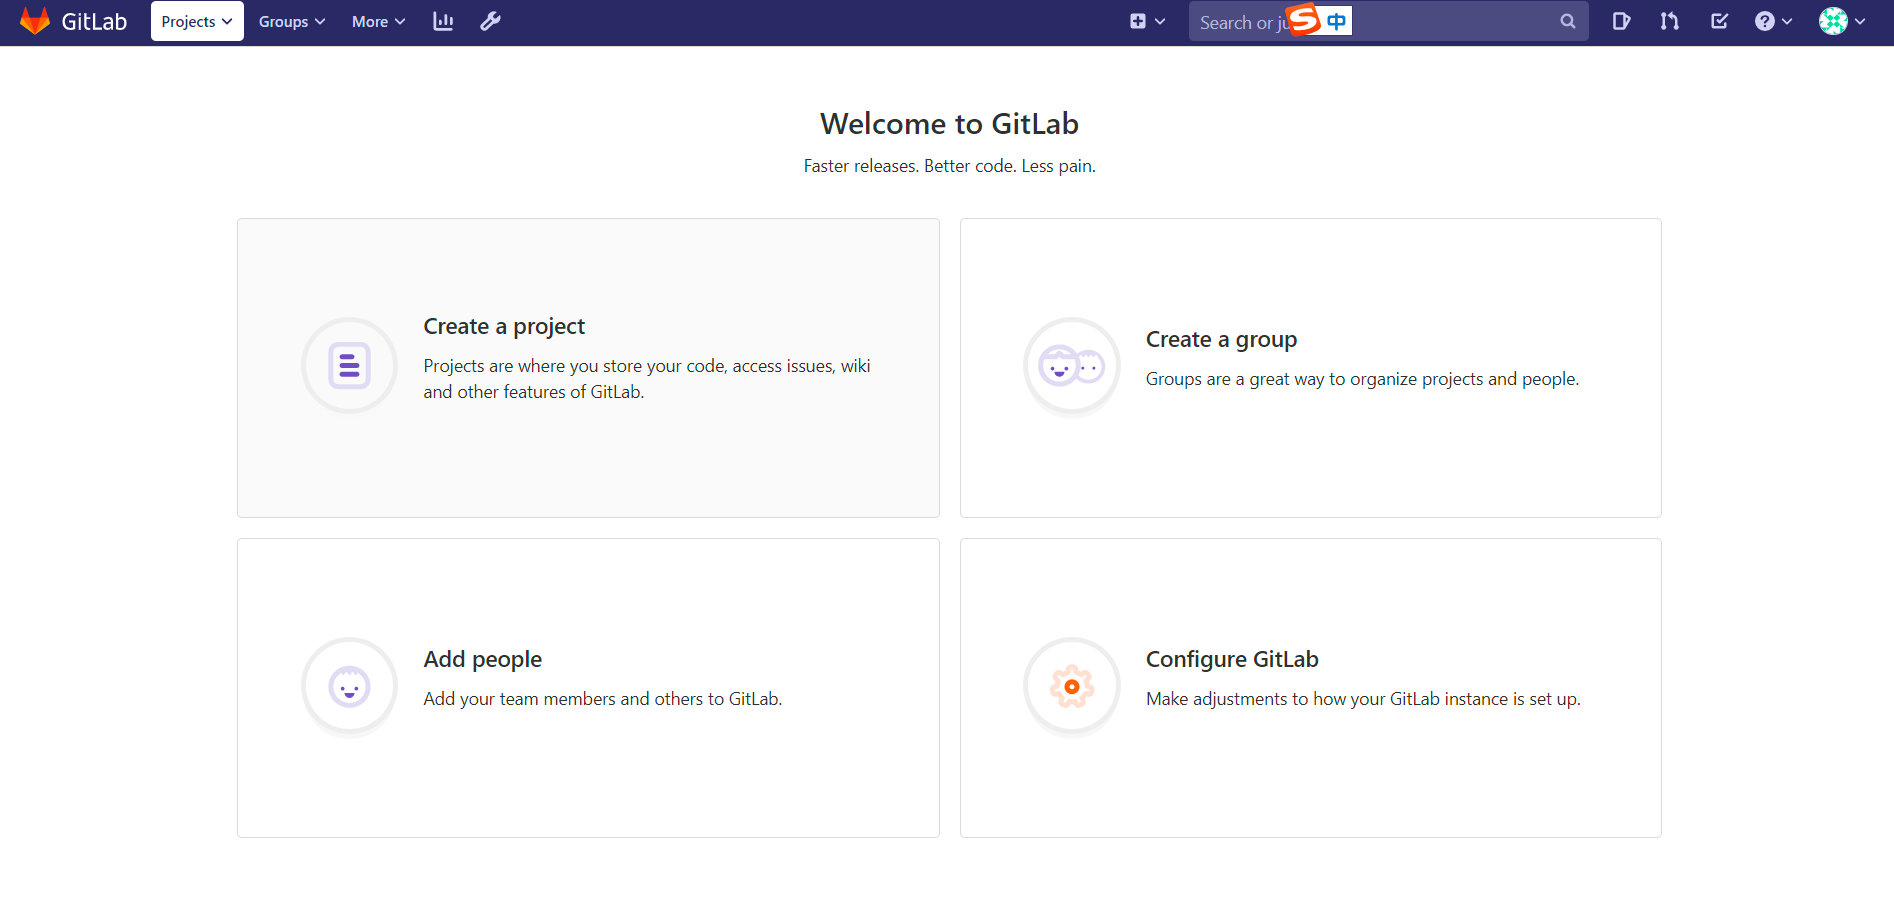
接下来就是改密码和登录了,登陆之后就进入页面,gitlab 也终于露出了庐山真面目。注意:管理员的账号是root。
最后,我们就进入 gitlab 了。
![notion image](https://www.notion.so/image/https%3A%2F%2Fs3-us-west-2.amazonaws.com%2Fsecure.notion-static.com%2F50b108aa-0db2-4d0e-bbe4-cc3f6a439daa%2FUntitled.png?table=block&id=0167156a-453b-47bb-8031-0362a20e0110&t=0167156a-453b-47bb-8031-0362a20e0110&width=1894&cache=v2)
image
结语
至此,我们已经完整搭建了 Gitlab 环境,作为 CICD 不可少的一部分,也算是有了一个良好的开端。撒花!
- 作者:Kitety
- 链接:https://www.kitety.com/article/cicd-actual-combat-gitlab-construction
- 声明:本文采用 CC BY-NC-SA 4.0 许可协议,转载请注明出处。
相关文章